Learn about the Costume Designer

Kevin Hutchins
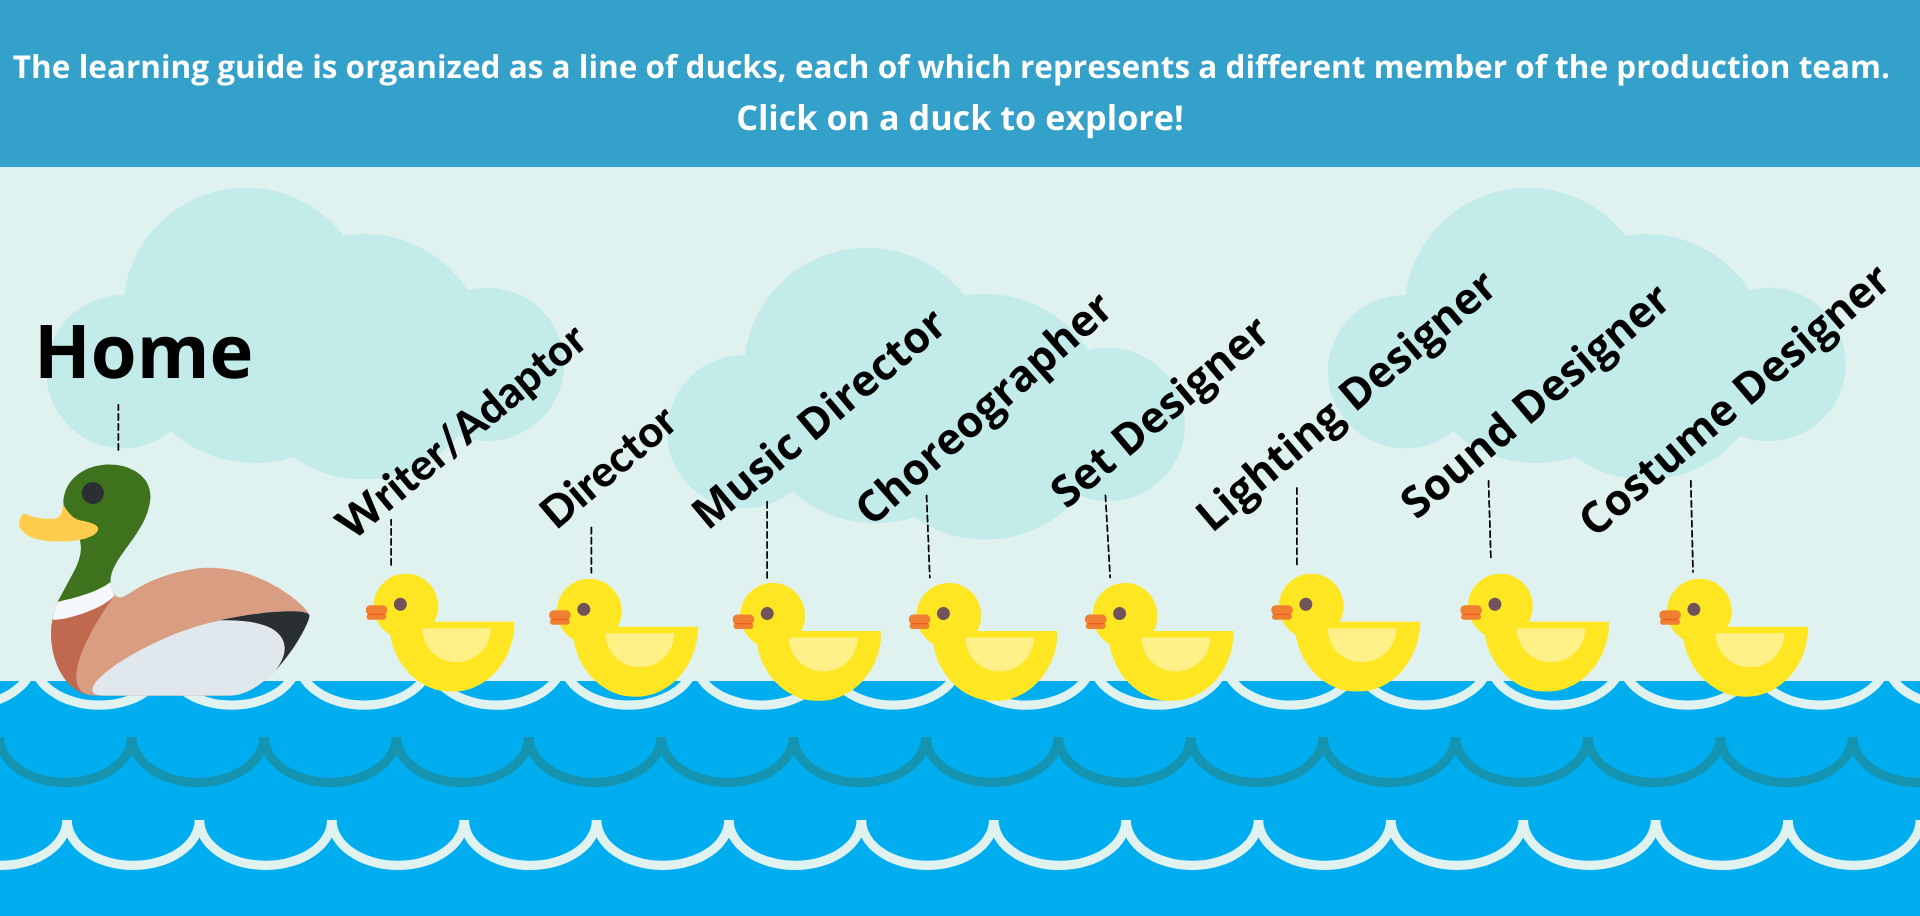
Click on a photo to read their bio.
Activities are marked with the following age-range suggestions:
- EE — Early elementary (grades K-2)
- LE — Late elementary (grades 3-5)
- MS — Middle school (grades 6-8)
- HS — High school (grades 9+)
Contact Us
If you have any questions or would like to share how you and your class engaged with the VLG, send us an email at WFTEd@bu.edu.

Watch an interview with Kevin Hutchins
A mood board is a collection of images inspired by a certain theme, topic, idea, or story. The combination of curated images, words, patterns, textures, and their composition within the collage convey the creator’s feelings or inspirations about the topic.
A costume designer collects research images to start to imagine what their designs might look like — including colors, shapes, textures, and words that are important to the characters or the story, images from/of a certain time period, and more. Some designers make mood boards that they continually refer to throughout the design process.
Decide on a story, concept, or topic for your mood board. Students can all use the same story, choose from a small selection of stories, or each student can choose their own. Of course, we recommend using Make Way For Ducklings! You can also use a concept such as ‘wonder’ or ‘progress,’ or a topic such as ‘my future’ or ‘our classroom.’
Students collect their set of images that represent the topic, their feelings about the topic, and their ideas for conveying the topic to an audience. Students curate their images in a meaningful arrangement.
Mood boards can be tangible or digital. For tangible mood boards, students will need construction paper, scissors, tape or glue, and sources for images such as magazines, old books, or images they can print out. Fabric and paint swatches also work well! You might also want to provide markers and other design materials such as colorful tapes or stickers. Digital mood boards can be created as a slide show or using a platform such as Google Slides, Padlet, or Jamboard.
After students create their mood boards, ask each student to describe the ideas in their mood board and the reasoning behind the images they selected. Students could also write ‘designer’s statements’ describing the motivations for their choices and how their choices represent the topic of their mood board.
The below costume design challenges offer different ways to bring students into a costume designer’s thought process. Use one, two, or all three as you see fit!
- Make Way For More Animals: To begin this challenge, you might want to watch or look at images from the workshop production of Make Way For Ducklings and listen closely to the way Kevin Hutchins describes combining inspiration from the book with modern fashion in his interview. Put yourself in Kevin’s shoes. If you were using Kevin’s style of design to add more animal characters into the world of Make Way For Ducklings, how would you costume those animals? Represent your ideas in sketches, research images, or full designs. For example, what would a rabbit character look like in the world of WFT’s play? Or a squirrel? There is one dog in the play — what about another type of dog? What other animals might you choose to add — fish, turtles, swans, geese? Let your imagination run wild as you add these new animals into the world of our workshop production! Perhaps later you’ll write a scene of these new animals interacting with the Mallards.
- Time Travelers: Select a story that takes place in a certain time period. Imagine that same story happening in an entirely different time period. How would you costume the same characters if they existed in a time with different fashions, styles, and forms of dress? Sketch, or use writing to describe, costumes for characters from the original story in a new time period, being sure to capture each character’s personality in the newer or older clothes you choose.
- Capturing A Character: According to costume designer Kevin Hutchins, a costume gives the audience information about the character before that character opens their mouth to speak. It is as if the costumes themselves have lines that communicate to the audience about that character. Select a character from a story that your class is reading or studying. Write a list of key scenes or moments for that character that capture the character’s arc, or the way in which that character grows and changes over the story; pick 3-5 moments total, making sure that the beginning, middle, and end of the story are all represented. Sketch, or use writing to describe, how you would choose to costume the same character in these different moments. How might the character’s clothing reflect their journey through the story? What can their clothes tell the audience? Use evidence from the book or story to justify your choices.
Gather a trunk full of various clothing items and accessories such as scarves, hats, belts, ties, gloves, vests, etc. If you are working remotely or maintaining social distance, ask each student to find an item or two around their home to use for this exercise.
The challenge of this exercise is to use the same item of clothing in as many different and creative ways as possible! What can a scarf become if you wear it somewhere else other than around your neck, or even if you drape it around your neck and shoulders in new and interesting ways?
Select one item and pass it around the classroom, asking each student to wear it in a new way and discussing what character(s) that way of wearing the item inspires. Alternately, each student has one item to transform in as many ways as possible.
Either turn this into a competition or have the class work together collaboratively to achieve as many ideas as possible!
Ask the students what new characters are inspired by new ways of wearing each item.
When working on a Zoom production, and sometimes with in-person productions as well, costume designers rely on items that actors already have to create costumes.
Imagine you are at home acting in a production on Zoom, and the only clothing you can use is the clothing in your closet and around your home. How can you use what you already have to create characters?
Assign or let students choose characters from Make Way For Ducklings or another story your class is reading or studying. Ask students to gather items from around their house and costume themselves as a character. Students could also work in pairs, with one student as the actor using items from around their home, and the other student as the designer describing what kind of look they are going for; the students then work together to create a final look from the actor’s items. Consider pairing students in this way if you have students who prefer not to share their video or wish to keep their life at home private from their peers.
For an extra element of fun, give students limited amounts of time to dive into their closets and compile their looks!
In this multi-part activity, costume designer Kevin Hutchins walks your students through conceptualizing, designing, and sewing their very own monster! Students will learn about all the steps of the design process and leave the lab with a hand-made, personalized monster that shows off their new skills.
Activity designed and created by Kevin Hutchins.
-
Introduction Video
- Learn more about the activity (Video)
- Step 1: Create a Color Wheel
Lesson Plan for Steps 2 & 3: Monster Design & Construction – includes material list – (PDF)
-
Step 2: Designing & Preparing Your Monster
- Monster ID worksheet (PDF)
- Sketching Your Monster (Video)
- Monster Shape Templates (PDF)
-
Step 3: Constructing Your Monster
- Threading A Needle Demonstration (Video)
- Running Stitch Demonstration (Video)
- Sewing On a Button Demonstration (Video)
- Whipstitch Demonstration (Video)
- Blanket Stitch Demonstration (Video)
-
Step 4: Finishing Your Monster
- Full Monster Assembly Time-lapse (Video)
- Finishing Your Monster (Video)