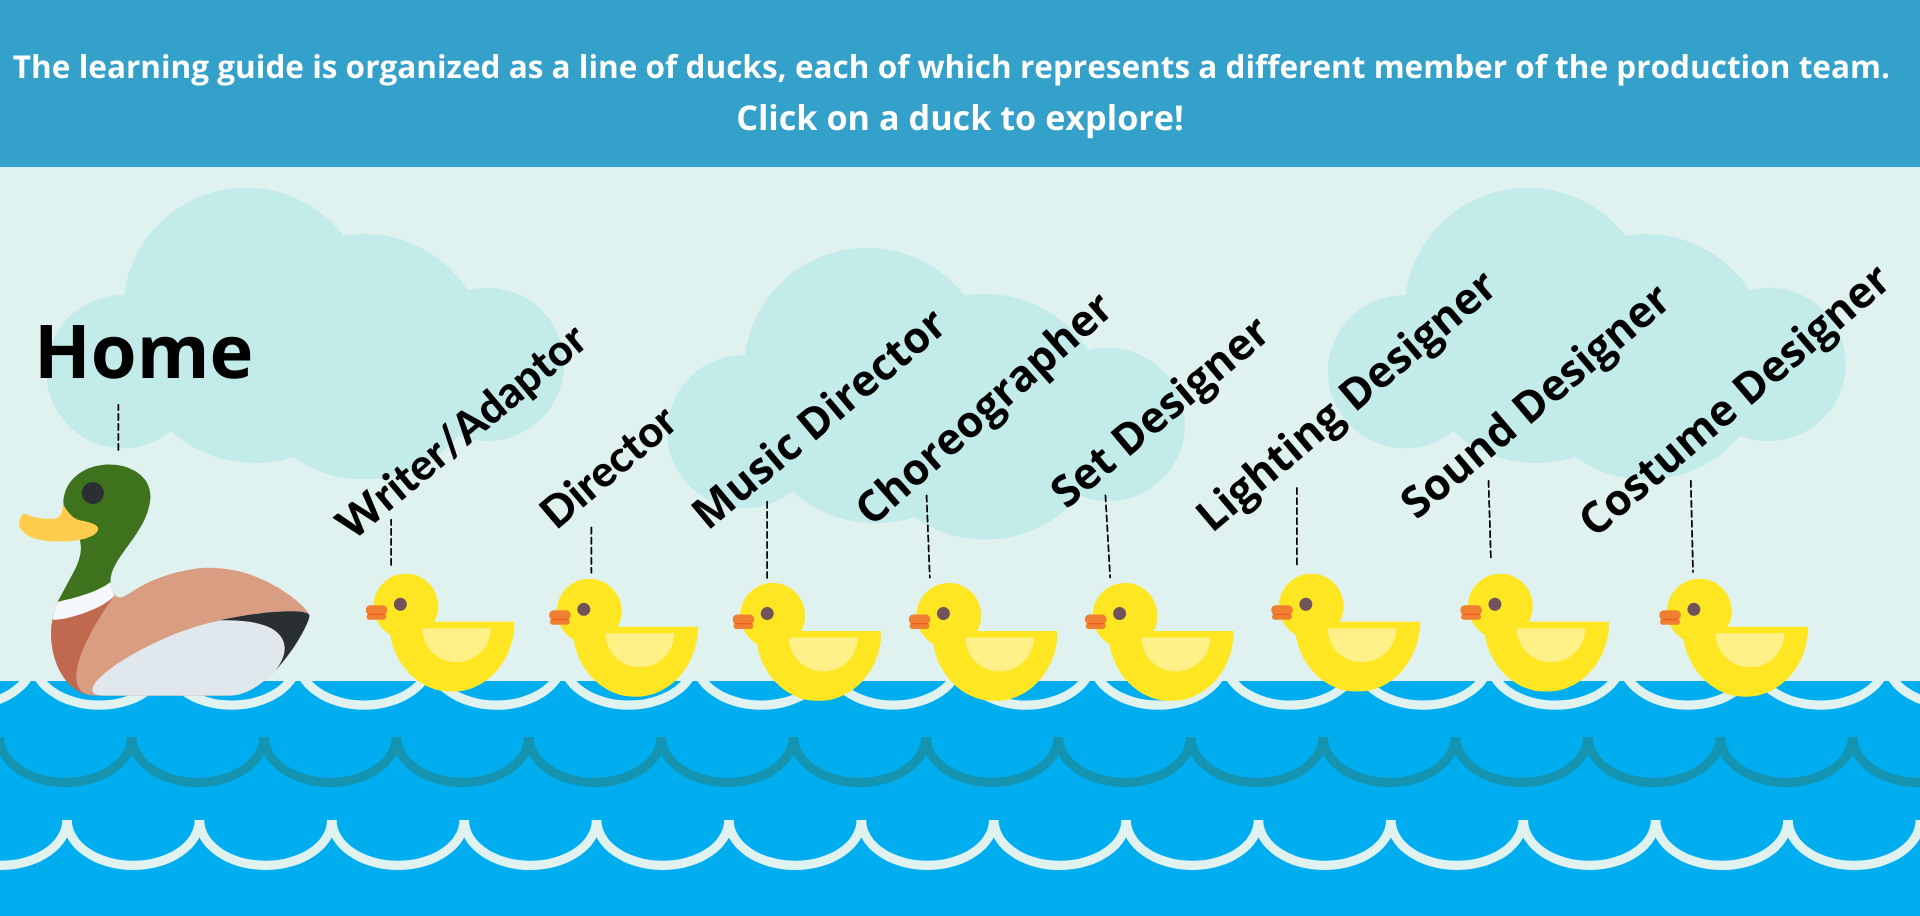
Learn about the Lighting Designer
Anna Brevetti
Click on a photo to read their bio.
Activities are marked with the following age-range suggestions:
- EE — Early elementary (grades K-2)
- LE — Late elementary (grades 3-5)
- MS — Middle school (grades 6-8)
- HS — High school (grades 9+)
Contact Us
If you have any questions or would like to share how you and your class engaged with the VLG, send us an email at WFTEd@bu.edu.

Watch an interview with Anna Brevetti
Watch scenes from the workshop that show contrasting moods
Lighting designer Anna Brevetti explains that, because light is intangible and ever-shifting, it can be hard to find words to describe it. Keeping a light journal allows students of all ages to notice, describe, and appreciate the way light appears in their world each day.
A light journal can be introduced and kept in many ways:
- Each day for a week or longer, students write one or more entries per day about light they notice/noticed that day, such as light coming through a window, a sunset, glare on the whiteboard, or a shadowy corner of their closet. Entries can take any style of writing from analytical to poetic.
- Each day for a week or longer, students describe the light in the same spot, either at the same time of day or different times of day.
- Younger students can create a light journal by drawing what they observe, either in the same spot on different days or in different spots. Then, students can compile their drawings, each labeled with a date, time, and location, into a book.
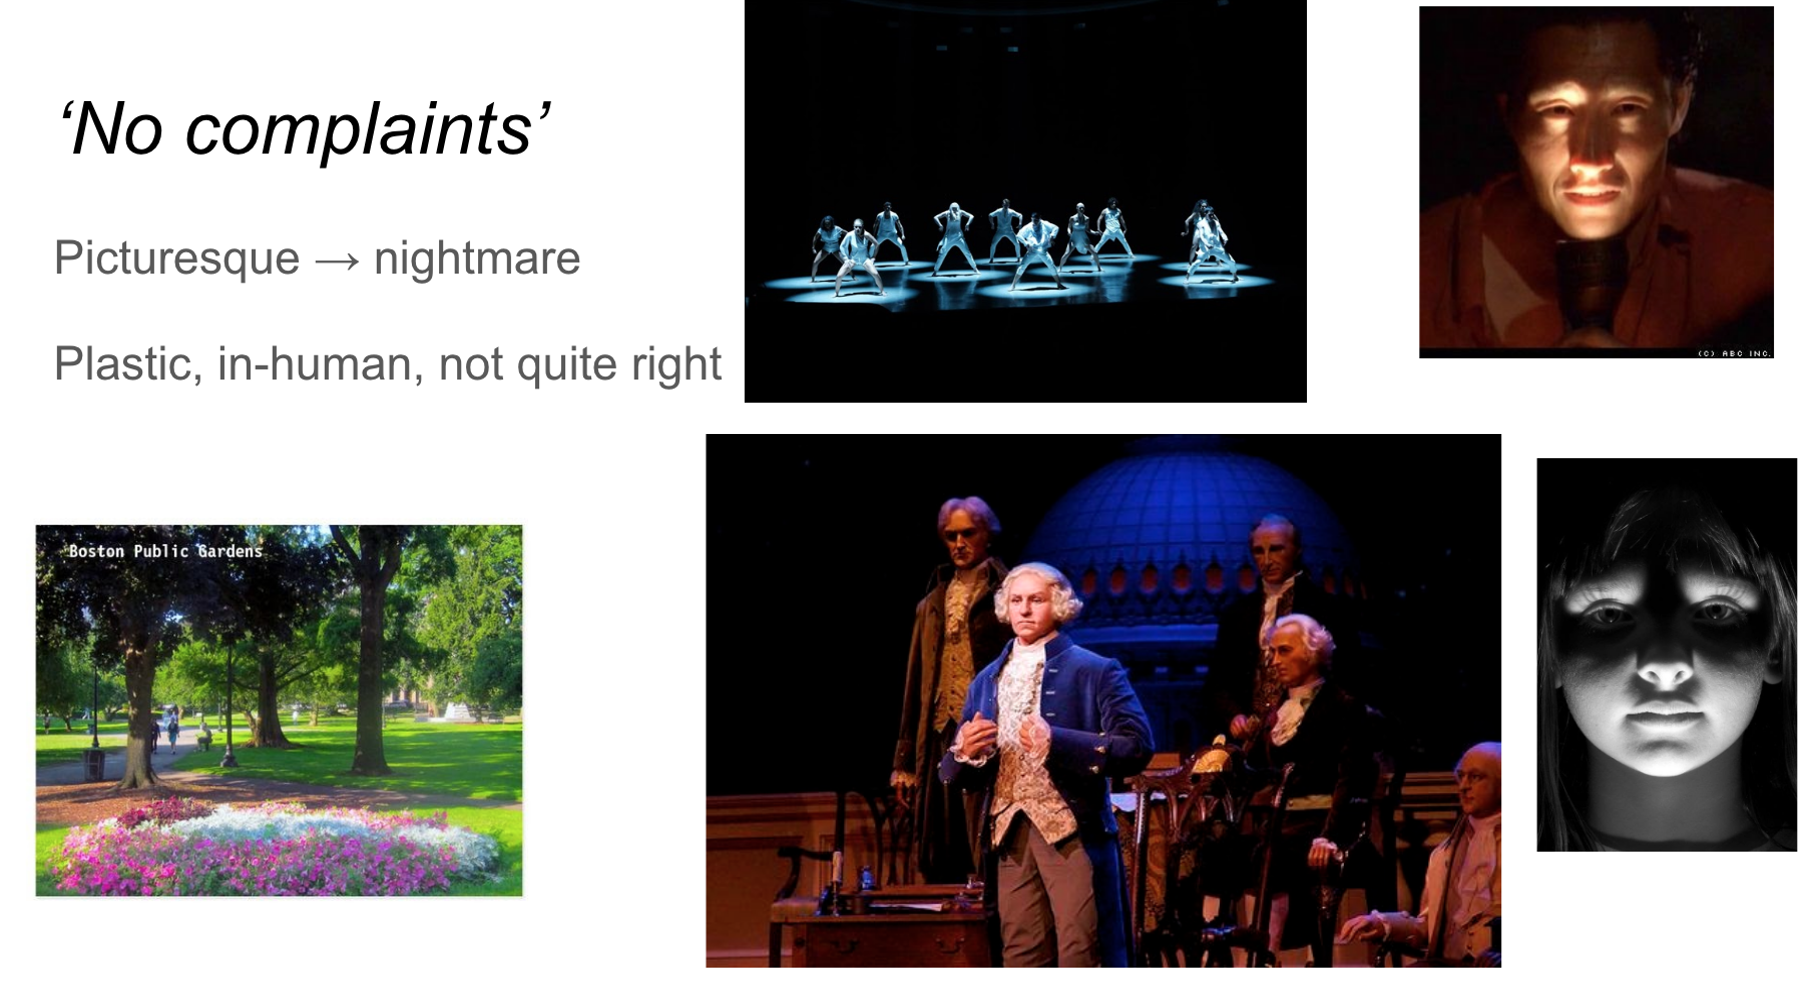
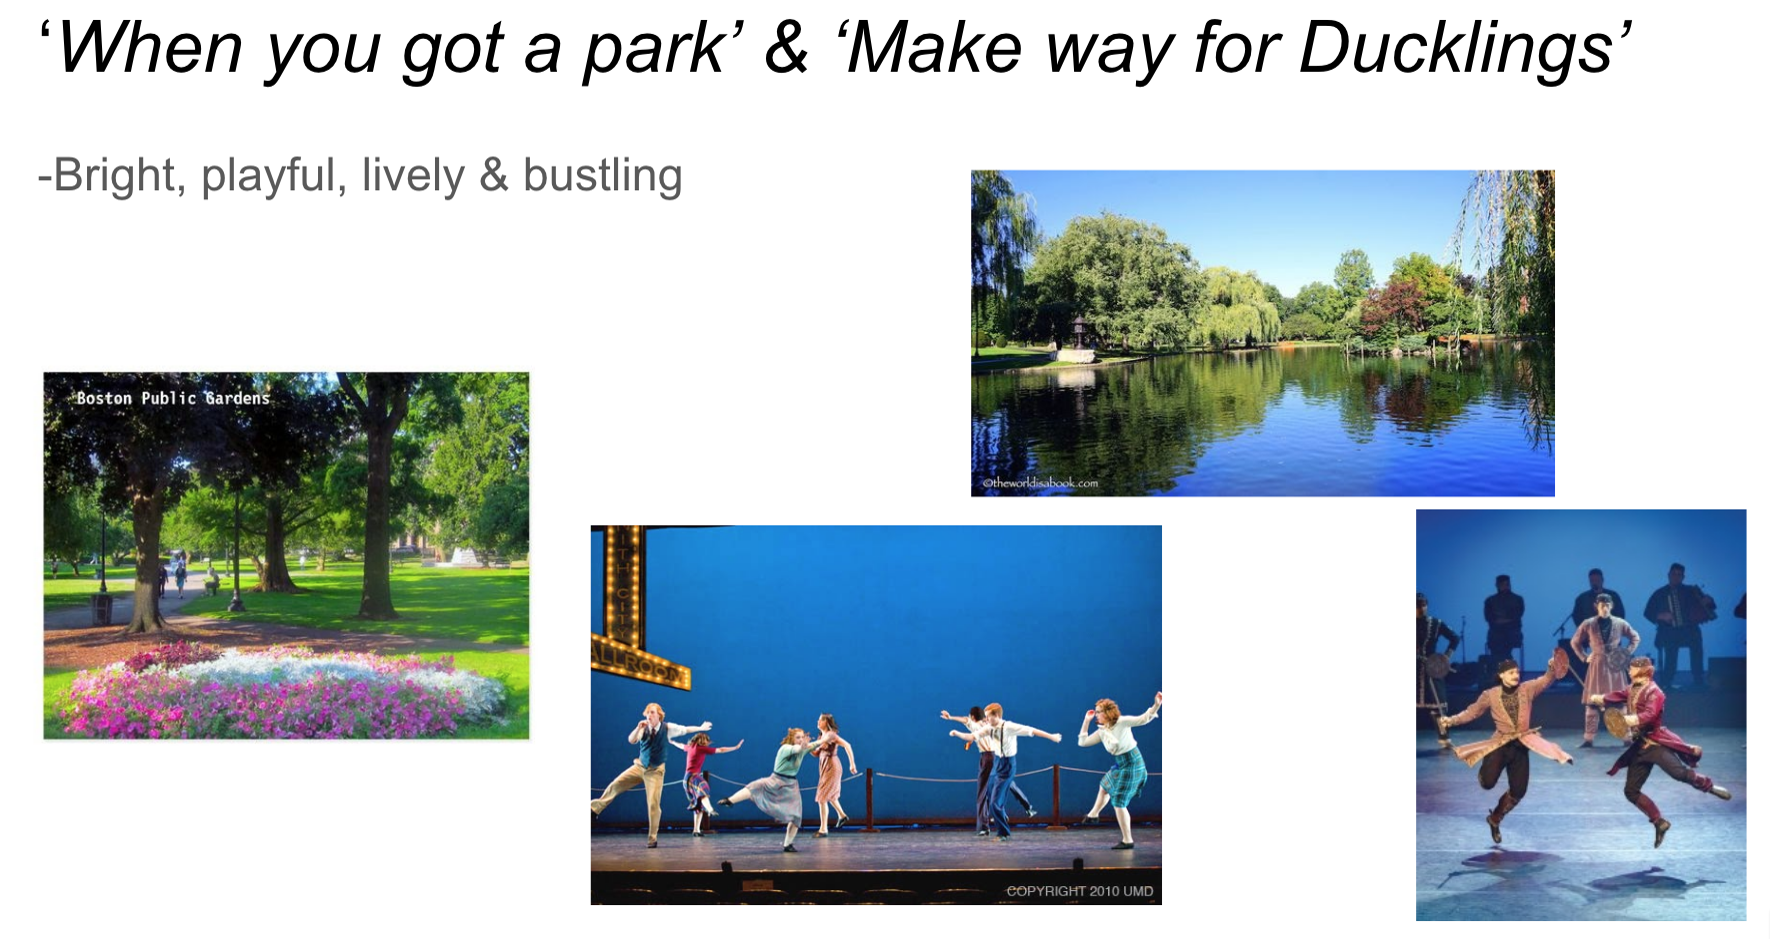
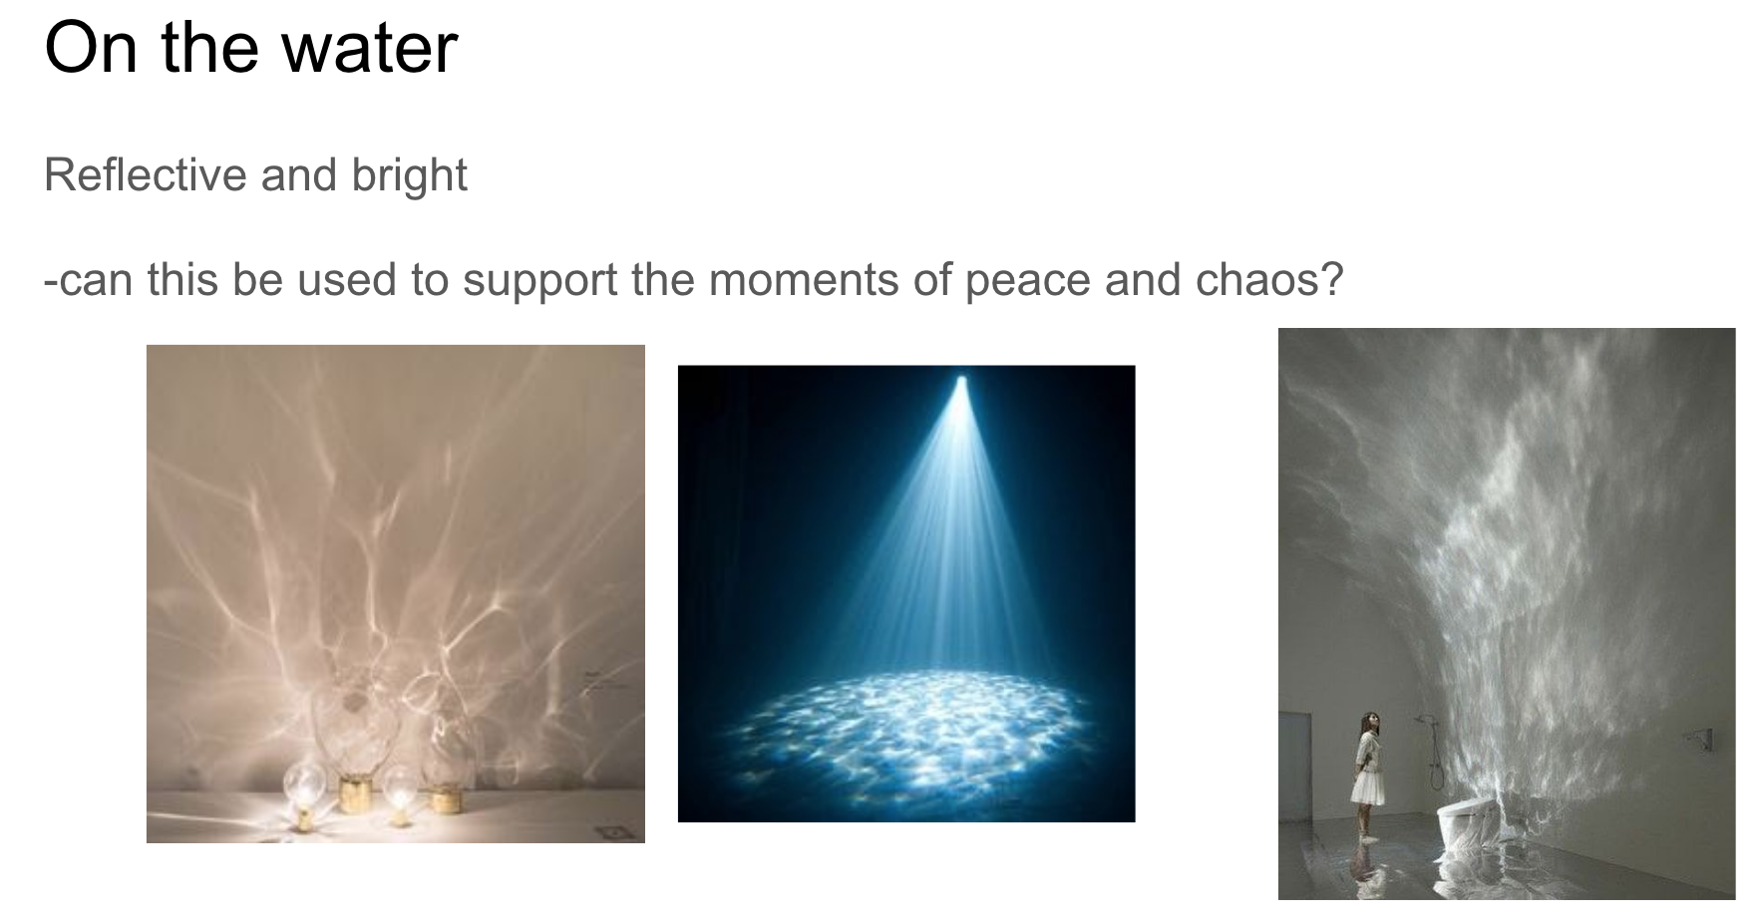
An important part of a lighting designer’s process is gathering research images. Research images are pictures in which the way the subject or location is lit conveys the mood or feeling the designer hopes to create onstage. As lighting designer Anna Brevetti explains, their lighting design will not look exactly like the research images; rather, the images will inspire the emotions and environments their lighting design hopes to evoke.
Take a look at these examples of Anna Brevetti’s research images for three different moments in Make Way For Ducklings:
Pose the following questions to your class:
- What stands out to you or interests you about these sets of images?
- What questions would you like to ask Anna about their research images?
- Look at each set of images and describe the words, emotions, or mood you believe Anna wanted to evoke. Do the words you are using match what you remember from that scene in the musical? What words does Anna use to describe each set of images?
Now, it is your students’ turn to gather research images for a production of Make Way For Ducklings! Either assign students a particular moment from the book/scene in the musical, or provide options for them to choose from.
Students work individually to curate 3-7 images in which light captures the mood they would hope to evoke through their lighting design in that particular moment or scene. To find images, students can search the internet or use books or magazines you provide. In addition to their images, students should write a collection of words or, for older students, a short paragraph describing the ways these images capture the mood and inspire their design ideas.
If students in your class had a choice of moments/scenes for their research images, consider grouping students who selected the same moment/scene to share their individual ideas with each other. Ask students to think about the similarities and differences across their interpretations of the same moment. Challenge students to use specific, evocative language to describe their and their peers’ ideas.
This activity asks students to apply their understanding of research images from Form It ACTIVITY 2 to their knowledge of a story’s arc by conceptualizing lighting design for a song of their choice.
First, ask each student to pick a song (appropriate for school) that they feel tells a story or contains an emotional arc. Students should print out the lyrics of the song.
Next, students annotate their song by splitting it into 3-5 distinct emotional moments or pieces of a story. Next to each of those moments/pieces of the song, students should describe the mood, feeling, environment, or shifts taking place in that part of the song.
Then, students compile a set of research images for each piece of the song that they have identified. In this way, they are using images and ideas about light to tell the story that they have interpreted the song to be about.
Challenge students to think both about the individual moments they have identified and about the story as a whole. How will their distinct sets of research images create one cohesive story?
To extend and reflect on this exercise…
- Ask students to write a ‘designer’s note’ describing their choices and the overall story they hope to tell through the lighting design of this song
- Have each student play their song while sharing a slideshow of their research images, changing slides at the appropriate moments in the song
- As each student shares, have the listening students write down a ! and a ? for the sharing student. A ! is a thoughtful comment about an effective, creative, or intriguing choice the sharing student made in their lighting design. A ? is a question they would like to ask the sharing student or a way they might try to push the sharing student’s thinking even further.
Mixing colors of light is not the same as mixing pigments like students might do in art class. For example, the primary colors of light are red, blue and green, whereas the primary colors of pigment are red, blue and yellow.
The videos below introduce students to the basics of mixing colors of light and model how to experiment with mixing colors of light using household items:
- Older students may enjoy this introduction to and demonstration of the fundamentals of mixing colors of light: https://www.youtube.com/watch?v=gKZNc01YcSI&ab_channel=Design-Fundamentals
- Students of all ages can recreate this hands-on experiment for mixing colors of light and using figurines to see the colors of light in action: https://www.youtube.com/watch?v=u5DW6wJT3b8&ab_channel=TheDadLab
The experiment in the video above can also be conducted using light shining through tissue paper or colored plastic such as a water bottle.
See what happens if you and your class try to recreate this experiment on a larger scale, using classroom light fixtures and a white sheet as your backdrop!
Students of all ages can use light sources all around them to experiment with directionality and angles of light! Younger students should handle light sources only with direct supervision, or have adults handle the light sources.
Begin by brainstorming all the sources of light in the room, both natural and artificial light. Examples may include windows, glass doors, standing lamps, fluorescent lights, chandeliers, nightlights, flash lights, and more!
A great first lightsource to experiment with is a flashlight. With one student as the model and one student as the designer, explore the different effects that can be achieved by holding the flashlight at different angles and directions with respect to the model. What happens when the flashlight shines down from directly over the head? What happens when the flashlight shines up from directly below their chin? Describe the mood of each effect. Then, add a second flashlight to create more effects.
Explore adding, removing, and combining various sources of natural and artificial light to achieve different effects…
- What happens when a model stands directly in front of a bright window?
- How does the light from a standing lamp differ from the light from a flashlight? Why do you think that is?
- Which single direction of light makes it easiest to see the model? Which single direction of light makes it hardest to see the model?
- How do different sources and directions of light create different moods or emotions?
- Add a white sheet as a background to play with shadows and silhouettes with your light sources!
Challenge students to use what they have around them to evoke a specific emotion through lighting design, with either your classroom or their Zoom square as their stage, and a friend or themselves as the model.
Use the following thinking routine as a way to reflect on the concepts students discovered from this hands-on application of light sources and angles.
- I used to think…. about light sources/angles
- Now I think…. about light sources/angles
- So now I will…
- Ex: I used to think you should stand in front of something bright for a good photograph. Now I think that standing in front of something bright creates a silhouette instead of actually lighting the person’s face. So now I will change the way I position myself in pictures.